I’ve gone through several more sanding / priming steps. Also managed to fit the custom nosecone to the sustainer. It’s starting to look like a real rocket! Unfortunately, it’s still cold in the Chicago area, so I’ve been forced to prime outside, then quickly bring everything back into the garage. My wife’s been pretty good about the horrible paint smell, but this won’t last long. Hopefully the weather will start to cooperate soon to get some real work done. My giant piece of allthread also showed up from Mcmaster-Carr for the nosecone. I’m going to reweigh everything and recalculate the Cp/Cd to determine how much nosecone weight I should use to work on that over the weekend.
Tuesday, March 8, 2011
Rocket Primed
Electronics (step 1)
I’ve been slowly getting back to work. This weekend I spent some time to mount the electronics into the tri-AVbay.
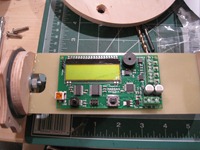
As you can see from the progression below, there isn’t too much to mounting the electronics. I positioned the Altimeter (in this case, a Marsa4), put mounting marks through the screw holes, drilled and tapped the mounting holes, then mounted the altimeter using #4 machine screws and plastic spacers. On the opposite side of the bay, I mounted a 9 volt battery holder, and ran the wires through the bolt cut out.
.
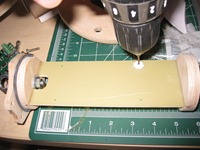
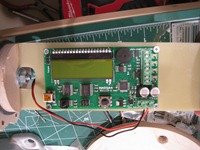
I then drilled holes through the top and bottom of the AVBay,and ran ignition wires from the altimeter through each hole.
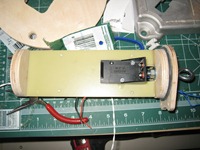
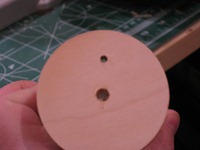
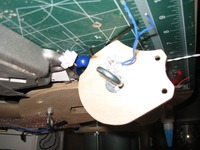
Once I had the ignition wires through the hole, I mounted a 4-way screw terminal through the same hole, and secured the ignition wires into one side of the screw terminal. This will allow me to mount the e-matches to the screw terminal instead of threading them through the av-bay, and having to re-seal the AV-bay after each launch. This is a method I have been successful with in the past, although I am well aware these screw terminals will be subjected to the black powder residue , and will likely have to be replaced over time.
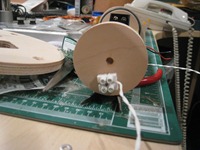
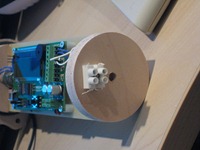
I then went through the same process with the Raven. First, it is striking how small the raven is, 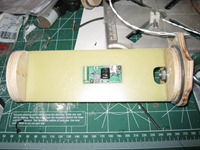 when you look at it in this big AV bay. The raven is more complex to install since it uses a common + wiring scheme. While the Marsa4 had discrete connectors for everything (a + and - for each e-match, the battery, and the power switch), the Raven only has 4 terminals and a battery + for everything. This means the power switch has to be inline, and each e-match has to be connected to the same + battery post. Not a big deal, and great if you are putting this in a minimum diameter rocket. With the amount of space in my AV bays, it’s kind of unnecessary. That said, this is my most
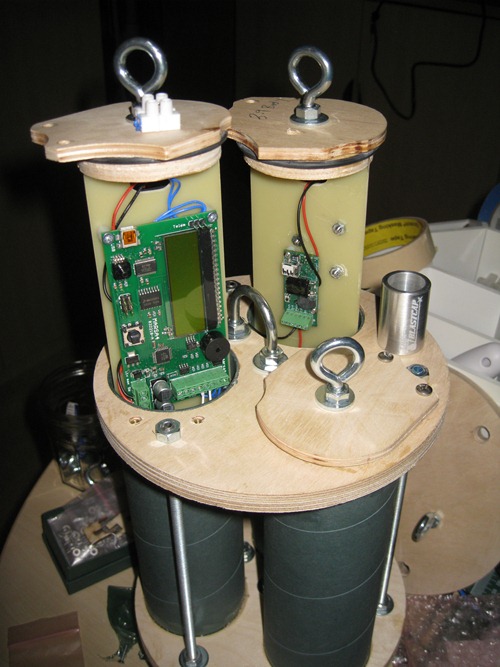
The third AV Bay will house a Communication Specialist tracker, and an Altus-Metrum. I haven’t decided on where to mount the power connectors yet. I will probably wait until the very end to determine their optimum placement.